Monday, December 31, 2012

Pumpkin Pie


This is a family favorite and I used some of my precious stash of canned pumpkin to make not one, but two of these pies for our Thanksgiving feast.  This recipe was also featured in my interview with Albanian Living Magazine.


PUMPKIN PIE

3 cups cooked, pureed pumpkin or squash (or 1 29-oz can pumpkin puree)
3 Tablespoons white sugar
3 Tablespoons brown sugar
2 Tablespoons molasses
1/2 teaspoon ground cloves
2 teaspoons ground cinnamon
2 teaspoons ground ginger
2 beaten eggs
1 1/2 cups evaporated milk

1 unbaked pie shell


1)  Preheat the oven to 375 degrees.

2)  Place the pumpkin puree in a medium-sized bowl, and add all of the other ingredients.  Beat until
     smooth with an electric mixer.

The batter comes together so quickly


I got fancy and added pumpkin cutouts around the rim of the pie plate


3)  Spread the mixture over the pie crust and bake at 35 for 10 minutes.  Turn the oven down to 350
      and bake another 40 minutes, or until the pie is firm in the center when shaken lightly.

4)  Cool at least to room temperature before serving.  The pie can be eaten chilled or at room
      temperature.  Serve with whipped cream or vanilla ice cream if desired.

Sunday, December 30, 2012

Exploring the Viktualienmarkt

Produce for sale

For me, the coolest part of our short stay in Munich was exploring the Viktualienmark. In existence since 1807, this market has expanded regularly and is now filled with an amazing assortment of vendors.   Located in the heart of the city center, during our visit this open air market was filled with all of the seasonal delicacies that this food obsessed but equally food deprived person could ever dream of.  Stall after stall was filled with fresh fruits, vegetables, spices, cheeses, meats, and fish.  Even the most ordinary carrots, cabbage, and oranges---items readily available in Albanian markets throughout the year-- looked especially enticing while the more exotic- much of what I didn't recognize- made me want to buy everything in sight to carry back to Albania with me.  Just think about the meals I could create!

I know I've been in Albania too long when I am amazed that the designated pedestrian only zone of the market is truly pedestrian only.  (The main market in Tirana is filled with mopeds and diesel chugging Mercedes making shopping a dual sport of browsing for food and dodging errant vehicles.  This German experience is so much more pleasant).  Intermingled with the food purveyors were casual restaurants selling all sorts of German goodies.  A few of the places had seating under heated tents but most had stand up counter service.  As we wandered through during the noon hour, beer, gluhwein, pretzels, and every kind of sausage imaginable was being consumed by clusters of people huddled around bistro tables and benches.  We opted for a restaurant with sit down tables for our quick lunch of sausage, pretzels, apple strudel, beer (and of course Fanta).  I've always been a believer in atmosphere and presentation contributing to the enjoyment factor of food consumption and eating in the Viktualienmarkt only exemplified this.


The boys selecting a sausage to take home

Pretzel shaped sausages

  
Green cheese even the man on the moon would approve of - this one was infused
with pesto but I also saw a wasabi version
Cheese, cheese, and more cheese


Spices and other dried goods


One of many meat shops lining Viktualienmarkt


A gaggle of straw geese leading the way to another vendor

My morning at the market has made me want to cook.  I know I will not be able to find the same plethora of delicacies in Albania but I'm inspired to make a go of it.  I'm not sure where to start. Perhaps with homemade pretzels or a savory bread.  Or maybe I'll try to replicate the apple strudel with vanilla sauce we tried.  Maybe now is the time to try my hand at homemade sausages.  Decisions, decisions........recipes will be sure to follow.

Tuesday, December 25, 2012

Gluhwein (Mulled Wine)

Nothing says Christmas to me more than mulled red wine.  Called by its German name of gluhwein, this warm spicy red wine is a staple of the holiday season throughout Europe.  Regardless of where you are the base of the drink is the same; red wine is simmered with a variety of spices producing a warm and intoxicating drink that is sipped from small cups purchased from street vendors.  Each country seems to have their own take on this traditional drink; in the Czech Republic slices of lemon float on top of the drink while orange is the citrus of choice in Slovenia and Croatia.  Germany and Austria seem to forgo the the fruit but "class" up their presentation by serving the hot beverage from commemorative mugs instead of paper cups.  (This makes consumption so much more enjoyable).  Look around a town square during the holiday season and groups of people will be standing around sipping their drinks and enjoying the holiday season.

I've been making my own version of gluhwein for many years.  Whether it was served at our Christmas parties in Norfolk, VA or Tirana, Albania, every drop of the spicy warm goodness is inevitably gone by the end of the night.  You can easily double or triple the following recipe if you are serving a crowd (or want a lot for yourself).  For larger groups I like to make the gluhwein in a crock pot which makes it easy to serve and keeps it warm until the last drop has been drunk.


GLUHWEIN


2 .75 liters dry red wine
1/2 cup brandy
1/4 cup white sugar-or more to taste
10 whole peppercorns
10 whole allspice
20 whole cloves
6 whole cinnamon sticks
zest of two oranges


1)  Toast spices in a small saucepan until fragrant being careful not to scorch them.

2)  Place smaller spices (peppercorns, allspice, and cloves) in a tea ball or cheesecloth bag.  Place all of
     the spices into a large saucepan or crackpot.  

3)  Add the wine, brandy, sugar, and orange zest to the pot.

4)  Bring to a simmer over medium heat being careful not to boil the liquid.  Stir occasionally to make
     sure sugar is dissolved.

5)  Reduce heat and let steep a minimum of 1 hour or longer.

When using a crock pot, I will use the "warm" setting and allow the flavors to intensify for the duration of serving while keeping the gluhwein warm.


Enjoying gluhwein in Garmisch, Germany

Sunday, December 23, 2012

Gouda Bread Pudding


I'm always on the lookout for new side dishes.  All too often I jump in with gusto with the entree but by the time it comes to planning and actually cooking the accompaniments, I run out of steam.  Seriously, there are only so many times I can serve risotto or scalloped potatoes for dinner. Looking for inspiration, I recently dug through the enormous cookbook collection that I had insisted on bringing with us to Albania (despite it's pushing us towards the upper limit of our weight allowance I assured Glenn that I would indeed use all of the books).  As a member of a cookbook of the month club I have a lot of books that have arrived simply because I forgot to tell them not to send the  month's selection.  When this happens I usually scan through the book, mark interesting recipes for future use, and cram it onto a shelf along with previous month's surprise arrivals.  High on this shelf I found Paula Lambert's Cheese, Glorious Cheese, a book dedicated to you guessed it, cheese.  I had indeed marked several recipes but as far as I could tell, had never tried any of them.  

We had British guests coming for a family style dinner and I was looking for something easy to accompany the steaks we were planning on grilling.  When I saw the Gouda Bread Pudding recipe I knew it was just the thing.  Easy, fast, and tasty.  I served it from the table in a large souffle dish but it could just as easily be served in individual dishes for a more elegant presentation.  The Gouda was good but I plan on trying out other cheese combinations in the future.....Swiss, cheddar, bleu, pepper jack.......the possibilities are endless.


GOUDA BREAD PUDDING

4 eggs
2 cups milk
1/2 cup creme fraiche or sour cream
1/2 teaspoon salt
1/2 teaspoon white pepper
1 baguette
2 tablespoons butter
2 cups shredded sharp, aged Gouda

1)  Break the eggs into a large mixing bowl.  Add the milk, creme fraiche or sour cream, salt, and 
     pepper and whisk until well combined.


2)  Cut the baguette in half, then cut it into quarters and finally into 1-inch cubes.  Add the bread to the
     egg mixture and toss to combine.  Leave to soak up the liquid at least 10 minutes.


3)  Preheat the oven to 400 degrees F.  Generously butter an 8-inch to 10-inch casserole or souffle dish.


4)  Transfer 1/3 or the soaked bread to the casserole and sprinkle 1/4 of the cheese on top.  Repeat
      layering the bread and cheese until the casserole is filled.  You should have 3 or 4 layers of bread
      and cheese.  


5)  Pour any remaining egg mixture over the bread.  Finish by sprinkling the remaining cheese in a
     thick layer on top.


6)  Transfer to the oven and bake for 30 to 40 minutes, until the bread pudding has puffed up in the
      center and the top is crusty and golden brown.   Serve hot.

Thursday, December 20, 2012

Little Gingerbread Men (A.K.A. Gingerbread Cakelettes)

Dressed and ready for the party
I'm a sucker for cake pans.  Unique shapes, intricate designs,  or bite sized portions and I'm all over it.  From the sand castle bundt cake pan (which can also double as an ice mold) to the giant cupcake pan and individual portioned brownies so every piece has an edge crust, if it is a different pan, I have it.  After all, presentation is just as important as the taste!  So when I saw the individual gingerbread men shaped cake pans at Williams Sonoma a few years ago, I knew I had to have the pan.  This is one of those pans that only gets hauled out once a year but the resulting cakelettes always create a stir.  If you don't have this pan and aren't inclined to go out and buy one, you can turn the batter into cupcakes.

The recipe is originally from Williams Sonoma and came with the pan.  I call it a two-for-one deal.  I've added black pepper into the spice mix to give it an extra kick.


GINGERBREAD CAKELETTES

1 3/4 cups all-purpose flour
1 1/2 teaspoons baking soda
2 teaspoons ground ginger
1/4 teaspoon ground cloves
1 teaspoon ground cinnamon
1/4 teaspoon salt
1/4 teaspoon fresh ground pepper
3/4 stick (6 tablespoons) butter at room temperature
2/3 cup light brown sugar
1 egg, slightly beaten
3/4 cup molasses
3/4 cup milk

1)  Preheat the oven to 350 degrees.  Grease and flour the cakelette pan.


The pan that started it all


2)  Sift together the flour, baking soda, ginger, cloves, cinnamon, salt, and pepper.  Set aside.

3)  In a large bowl, use an electric mixer on medium speed to beat the butter until creamy.


     Add the  brown sugar and continue mixing until the batter is light brown in color.  Add the egg and
     molasses and beat until combined.

4)  Reduce the speed to medium-low and add the flour in three parts, alternating with the milk.
     Continue beating until it is fully combined.


5)  Spoon the batter into each cakelette pan, spreading it into the arms and legs. Make sure to fill the 
      pans only half full.  Bake for 12-15 minutes or until a toothpick inserted into the center of a 
      cakelette comes out clean.

6)  Remove the pan from the oven and allow to cool for give minutes before inverting the pan onto a
     wire rack.  Cool the cakelettes completely before decorating with an icing of your choice.

7)  Wash and thoroughly dry the pan.  Grease and flour the pan again and repeat until all of the batter is
      used.

Yields:  Approximately 20 cakelettes


Monday, December 17, 2012

Coconut Bourbon Balls

Traditionalists will eschew this recipe as I've taken the original vanilla wafers, chocolate, and pecan combination and mixed it up a bit.   I've also reduced the amount of vanilla wafers the recipe calls for and added in shredded coconut (which for some reason I have a large stash of in my pantry).  The result?  A dark and chewy Mounds Bar knock-off with a kick. I love them. 


COCONUT BOURBON BALLS


15 vanilla wafers, broken into pieces
1 cup shredded coconut, divided
3 oz semi-sweet chocolate, finely chopped
3 oz dark chocolate, finely chopped
1/2 cup firmly packed light brown sugar
1/4 cup light corn syrup
1/3 cup bourbon
Pinch of salt
2 cups pecans, lightly toasted and finely chopped


1)  Working in batches, finely crush the vanilla wafers in food processor.

2)  In the top of a double boiler set over barely simmering water, melt the chocolate.  Remove from the
     heat.  Add the brown sugar, corn syrup, bourbon, and salt and stir to blend.  Stir in the crushed
     vanilla wafers, half of the coconut, and 1 3/4 cups of the pecans.


3)  Spread the remaining pecans and the rest of coconut on a plate.


      Using your hands, shape
      the dough into 1-inch balls.  Roll the balls in the nut and coconut mixture to coat evenly.  Arrange
      the balls in layers (or in individual paper cups), in a tightly covered container.  Refrigerate for 24
      hours before serving to blend the flavors.  Makes about 4 1/2 dozen cookies.


The cookies can be made up to 2 weeks ahead of time and stored in the refrigerator.

Sunday, December 16, 2012

Meringue Drops

Egg whites and sugar. It doesn't get much easier than these cookies that can be dressed up or down to fit any occasion.  For Christmas I've doctored mine up with a bit of red and green food coloring, added some colored sugar and they are good to go.  I've experimented with different flavorings as well.  Vanilla is always tasty but I found some creme de menthe in pantry used that to make mint ones.  In the past, I've also used orange or lemon extracts as well.  Which ever flavor you decide to use, they are sure to be a hit.


MERINGUE DROPS 

2 egg whites
1/8 teaspoon salt
1/4 teaspoon cream of tarter
1/2 cup super fine sugar (if you don't have super fine sugar use regular white sugar and pulse it in a
   food processor for a few seconds)
1 teaspoon extract of your choice

coarse sugar and food coloring if desired

1)  Preheat oven to 250 degrees.  Line two cookie sheets with parchment paper and set aside.

2)  In a clean, non-plastic bowl beat the egg whites with an electric mixer on high speed until frothy.

3)  Add the salt, cream of tarter, and food coloring if using and beat until blended.


4)  Gradually add the sugar until completely incorporated and stiff peaks begin to form.

5)  Add the extract and beat until completed incorporated and no streaks
     remain.  Continue beating until the peaks are shiny.


6)  Using a small dough scoop, tablespoon or a pastry bag, place tablespoon sized portions of the 
      meringue mixture on the prepared cookie sheets.  Sprinkle with coarse sugar if desired.

7)  Bake in the preheated oven for 1 hour.  Without opening the door, turn off the oven and allow to sit
      for 1 1/2 to 2 hours until the cookies are completed cool and crisp.


Store the cookies in an airtight container until ready to eat.


Wednesday, December 12, 2012

Bacon and Herb Risotto

I love risotto.  Unfortunately this tasty rice dish has developed the reputation for being time consuming and difficult to make.  It really isn't. You can serve a basic white risotto as an accompaniment to a saucy dish, dress it up with sophisticated add-ins as a fancy side dish or pair it with a green salad and serve it alone as an entree for a quick weeknight dinner.  Rice is the perfect palliate to build off of and I think all home cooks should have a good risotto recipe in their repertoire.  
I no longer use a written recipe when I make my risotto; rather I use a standard formula of liquid to rice and add in whatever ingredients sound good or I have on hand at the time.  For the intimidated or new risotto maker, Maxine Clark's Risotto is a great primer for learning about the importance of choosing the correct rice (yes, this does make a difference) and the role each component plays in completing the dish.  Her recipes can provide inspiration for flavor combinations to get you started.  I find that homemade broth is best.  Whenever I don't have the time to make my own (which is usually the case) a low sodium store bought version will work.  Full sodium versions tend to be too salty and you want to be able to taste your ingredients, and not the salt.  


BACON AND HERB RISOTTO


1 1/2 cups arborio rice
4 to 4 1/2 cups hot vegetable broth
6 slices bacon, diced
1 small onion, finely chopped
1/2 cup dry white wine
1/2 cup finely chopped herbs (I used thyme and sage)
1 cup finely grated Parmesan cheese
Freshly ground pepper


1)  Place the bacon in a heavy sauce pan, place over medium high heat and cook until crisp, stirring
     occasionally.  

2)  Reduce the heat to medium.  Add the onion and saute until soft, 5-7 minutes.

3)  Add the rice and stir. Cook until the rice is translucent, 1-2 minutes.

4)  Add the wine and cook until absorbed, 1-2 minutes.


5)  Gradually add the hot broth a 1/2 cup at a time.  Stir regularly, but not constantly, until broth is
     almost absorbed.  Add broth as needed and continue to cook until rice is al dente--or to your
     individual liking.   The risotto should be moist and have some liquids in it since it will continue to
     thicken as it sits.  You may not use all of the broth.


6)  Off the heat.  Add the chopped herbs and ground pepper and stir to combine.


7)  Stir in the cheese and stir until it is completely combined and melted.


8)  Serve immediately with more freshly grated cheese as desired.

Sunday, December 9, 2012

Corn & Vegetable Chowder

With the cold weather upon us, nothing tastes better than a hot bowl of soup. When paired with some crusty bread it makes the perfect lunch or light dinner.  This soup started as a corn chowder but I've added a variety of vegetables to give it more interest and body.  It is surprisingly easy to make and comes together quickly making it an ideal weeknight dinner.  You can use whatever vegetables you have on hand.  Just make sure that you don't overcook any starchy vegetables.


CORN AND VEGETABLE CHOWDER

4 ounces pancetta, diced
1 medium onion, diced
1 stalk celery, diced
2 medium carrots, diced
1 red bell pepper, diced
2 bay leaves
1 cup baby red potatoes, skins on diced
1 1/2 cups corn, fresh if available, canned or frozen if not
1 cup heavy cream
3 1/2 cups whole milk
Salt and fresh ground pepper to taste
1/4 cup dry sherry

1) In a heavy soup pot over medium-high heat, cook the pancetta until browned, stirring occasionally.

With bacon as a base, how can you go wrong?


2)  Reduce the heat to medium.  Add the onion, celery, carrots, bell pepper, and bay leaves.  Cook 8-10
     minutes or until vegetables have softened.

Lots of veggies.  You can add just about any that you have on hand


3)  Add the potatoes and corn then stir in the cream and milk.  Season with salt and pepper

There's a full serving of vegetables in every bowlful


4)  Bring to almost a simmer.  Reduce the heat to low and cover.  Cook for 30 minutes or until the
     potatoes are tender.

5)  Adjust seasoning and swirl in the sherry.

Enjoy!

Wednesday, December 5, 2012

Frangelico Crinkles

For me, nothing says Christmas more than plates of freshly baked cookies.  Traditional sugar and gingerbread cookies are nice but in order to add an element of surprise to my cookie plates I always make sure I include one or two new types each year.  However, as much as I love chocolate, I usually shy away from chocolate based cookies since their presence on the cookie tray is often overpowering.  This year I stumbled upon a chocolate cookie that sounded too good to resist.  Combining the amazing flavors of dark chocolate and hazelnut, these Frangelico crinkle cookies from Mary Lee's Desserts in Vienna, Virginia were too decadent and enticing to pass up.  The sophisticated flavor combination makes this a very adult cookie.  As an added bonus you can freeze them so they can be made ahead of time and brought out for any cookie giving occasion that pops up.

Don't let the batter like dough scare you.  Once it sits in the refrigerator it firms up and the result is a dough that is the perfect consistency.


FRANGELICO CRINKLES

1 1/4 cups flour
1 Tablespoon baking powder
1/2 Teaspoon salt
12 ounces top-quality dark baking chocolate, chopped
6 Tablespoons chilled, unsalted butter, cut into small pieces
2 extra-large eggs, at room temperature
1/2 cup plus 3 Tablespoons sugar
1 Tablespoon vanilla extract
1/4 cup heavy whipping cream
6 Tablespoons Frangelico liqueur
1 cup confectioners' sugar, sifted

1)  Sift together the flour, baking powder, and salt.

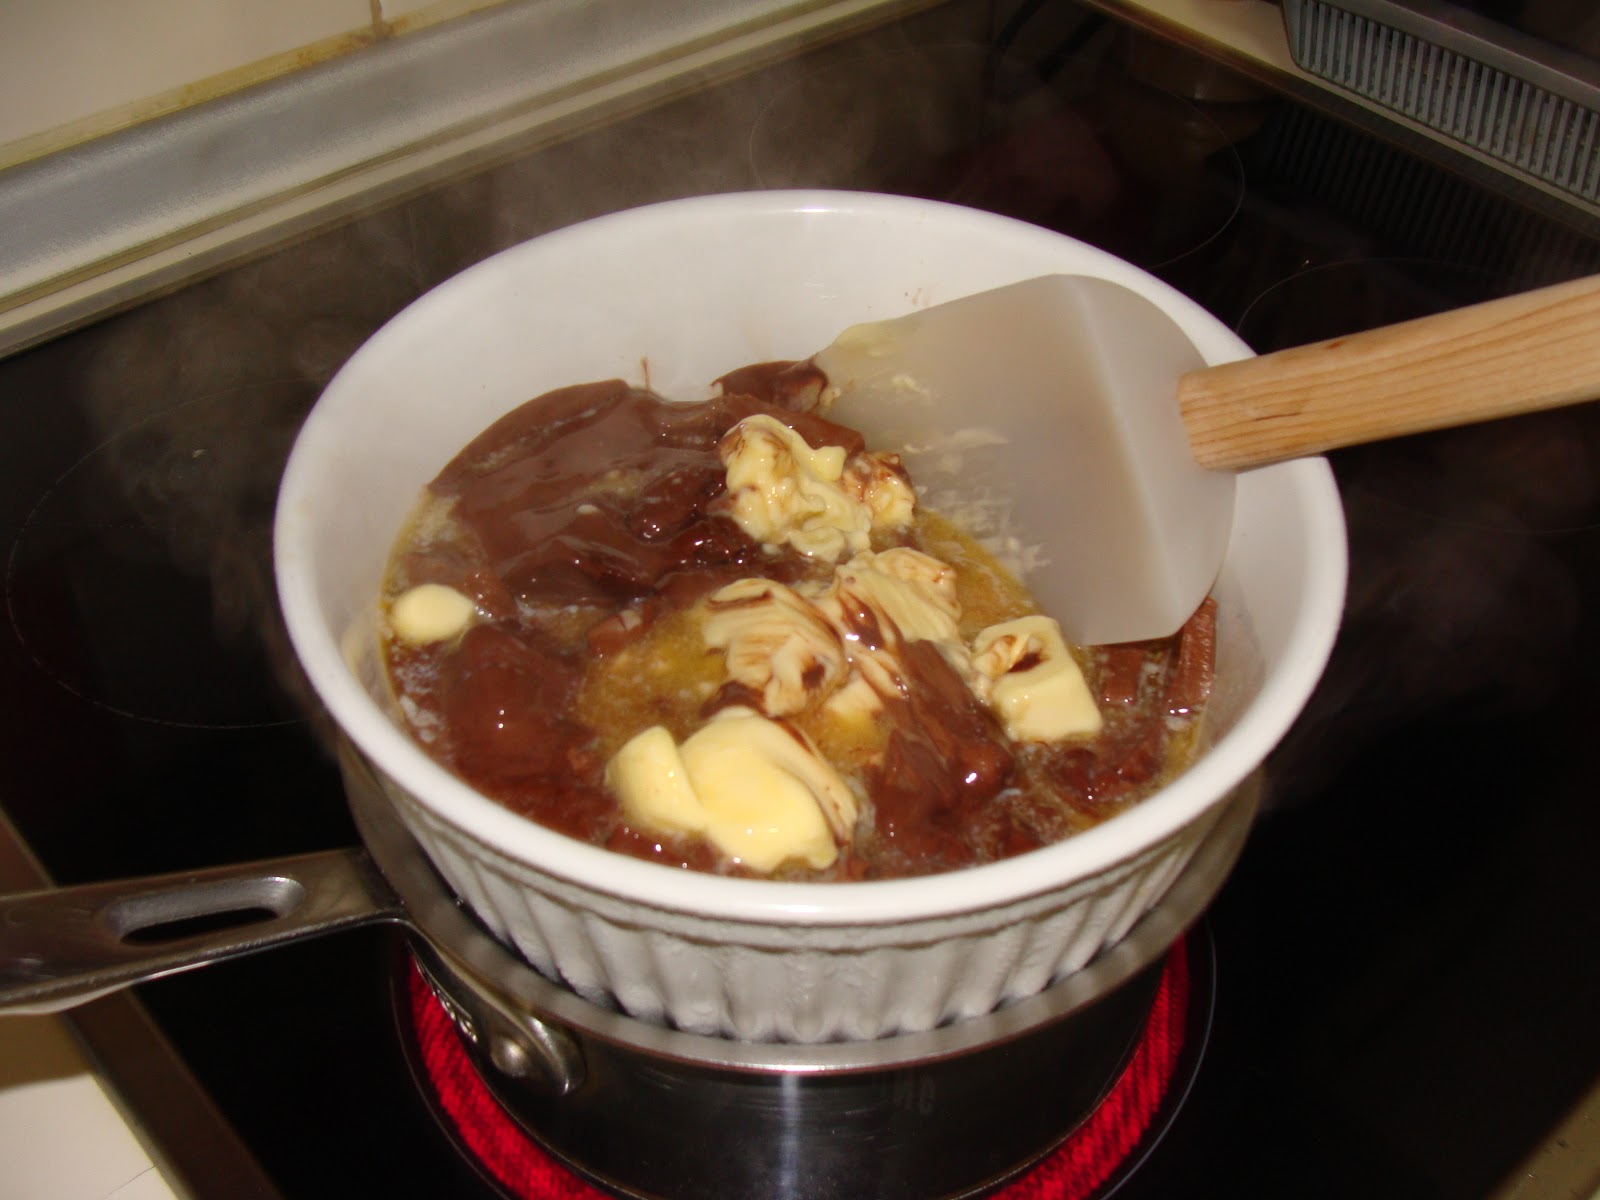
2)  Hear a few inches of water in a medium sized saucepan over medium heat.  Combine the chocolate
     and butter in a heat proof bowl that is large enough to sit over the saucepan.  Heat just long enough
     for them to melt, stirring to incorporate.  Remove from the heat.

Chocolate and butter melting


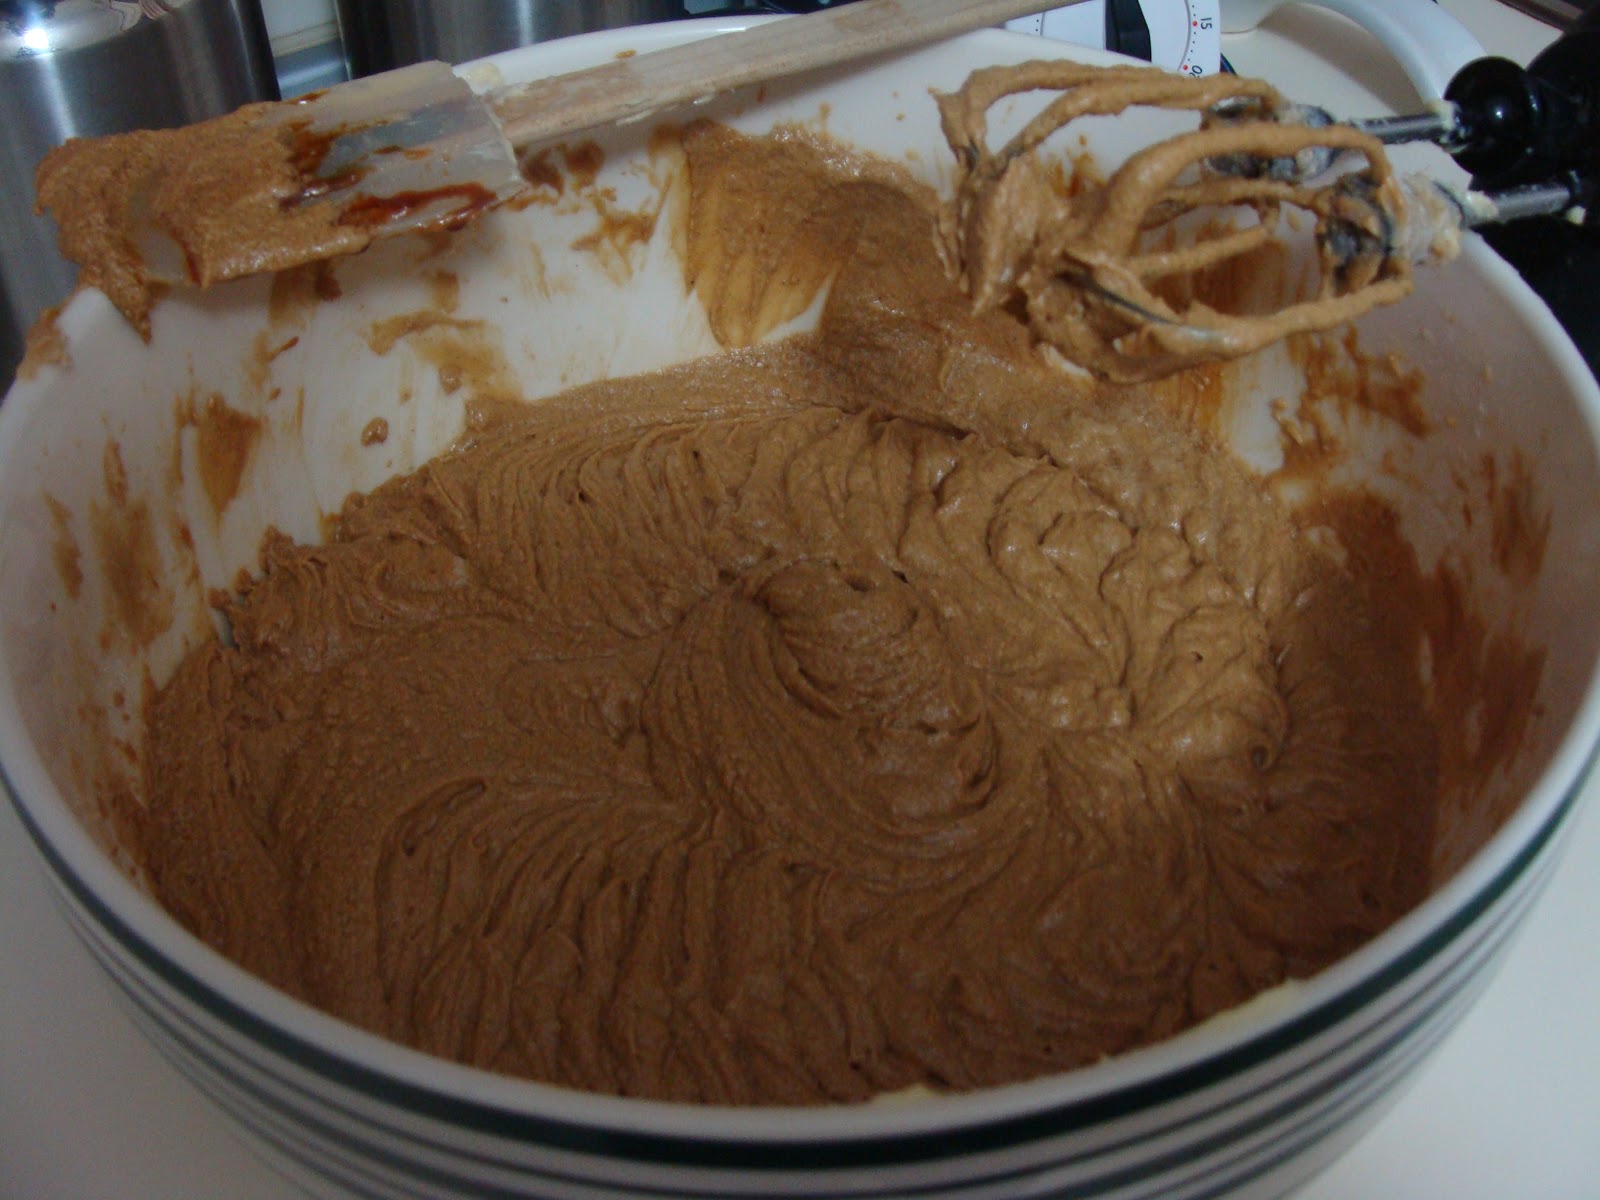
3)  Whisk together the eggs and sugar by hand in a mixing bowl until the mixture has lightened in
      color.

Eggs and sugar


4)  Add the cooled chocolate mixture, vanilla extract, cream, and liqueur, stirring to incorporate, then
      gently and gradually fold in the flour mixture to form a soft dough.


5)  Cover and refrigerate for at least 3 hours and up to overnight.

6)  Preheat the oven to 350 F degrees.  Line several baking sheets with parchment paper. Place the
     sifted confectioners' sugar on a plate.

7)  Shape a heaping tablespoon of dough into a ball, then roll to coat completely in the confectioners'
     sugar.  Repeat to use all of the dough, spacing the dough balls 2 inches apart on the baking sheets.
     Bake one sheet at a time for 9 to 11 minutes; the cookies will be puffed and cracked but soft in the
     center.  Do not over bake.


8)  Remove from the oven.  Cool for 2 minutes on the sheet; transfer the cookies to a wire rack and cool
     completely before serving or storing.

Ready to come out of the oven


YIELDS:  36 cookies

The cookies may be stored in an airtight tin for up to 2 days or frozen for up to 1 month.